How to Throw a Pumpkin Painting Party (Without Losing Your Mind)
This post was created with help from AI tools and carefully reviewed by a human. For more on how we use AI on this site, check out our Editorial Policy.
We are a participant in the Amazon Services LLC Associates Program, an affiliate advertising program designed to provide a means for us to earn fees by linking to Amazon.com and affiliated sites. As an Amazon Associate, we earn from qualifying purchases. Additionally, we might earn affiliate commissions from other websites when you click on links and make purchases. This means that whenever you buy a product on Amazon or other affiliated sites from a link on our site, we get a small percentage of its price at no extra cost to you. Thank you for supporting us!
Look, I’ve carved a lot of pumpkins in my life, and every single time I end up with pumpkin guts under my fingernails for what feels like three weeks. This year? I’m done with that nonsense.
Pumpkin painting parties are where it’s at, and I’m about to tell you exactly why you need to throw one this fall.
Why Pumpkin Painting Beats Carving (And It’s Not Even Close)
Remember last year when you spent two hours carving a pumpkin only to watch it turn into a mushy, moldy mess three days later?
Yeah, painted pumpkins last weeks longer, and nobody ends up in urgent care with a knife wound. Plus, toddlers can actually participate without you having a minor heart attack every five seconds.
Planning Your Pumpkin Paint Party (The Easy Way)
Send Invites 30 Days Out
Give your guests at least a month’s notice so they can actually put it on their calendar and show up. I’ve learned this the hard way after throwing last-minute parties where exactly two people showed up.
Use Facebook events, Paperless Post, or just send a group text. Whatever gets the job done.
Keep Guests Excited Before the Party
Post Pinterest links to your event page with different pumpkin painting ideas so guests can plan their designs ahead of time. This is genius because people show up actually knowing what they want to create instead of staring blankly at their pumpkin for 20 minutes.
Location, Location, Location
You can host this in your backyard, at a park, in your basement, or even your garage. Basically anywhere you don’t mind getting a little paint splatters.
If possible, paint outside because it makes cleanup about a million times easier. If you’re stuck indoors, throw down some newspaper, plastic tablecloths, or old bedsheets.
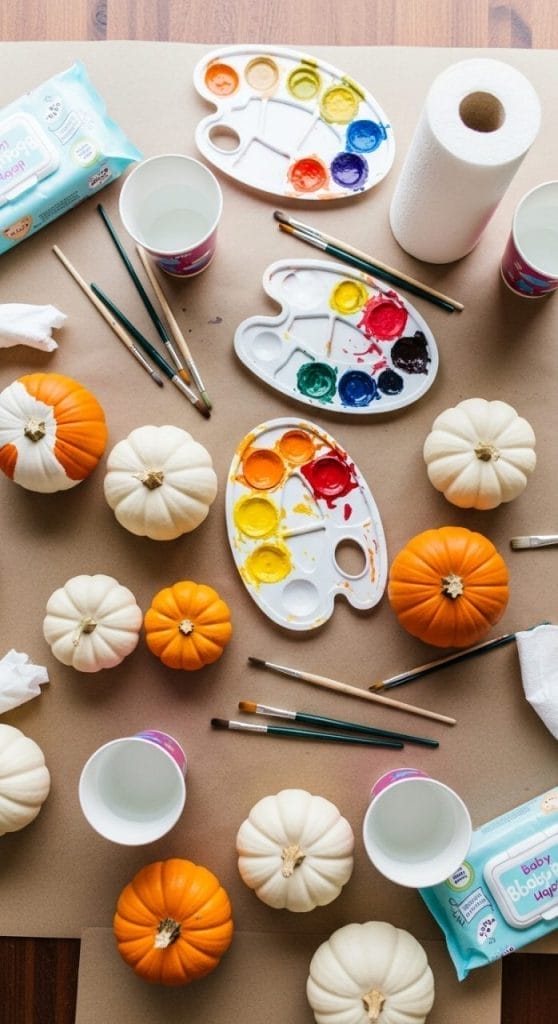
The Supply List (Don’t Skip the Baby Wipes)
Paint That Actually Works
Acrylic paint is your best friend here because it sticks well to pumpkins and dries quickly. Kwik Stix tempera paint sticks are also amazing because they’re mess-free and work great for both kids and adults.
Washable paint sounds like a good idea until your outdoor pumpkins sit in the rain and all the paint chips off. Learn from other people’s mistakes.
Brushes and Tools
Get a variety of brush sizes. Throw in some paint pens and markers for detailed work like drawing faces or writing names.
The back end of a small paintbrush makes perfect little dots, which is a game-changer for details.
The Secret Weapon
Baby wipes are the crafter’s secret weapon for removing paint from fingers. Put a pack at each table and watch as your guests silently thank you.
Table Setup Essentials
Roll out kraft paper and secure it to your work surface with painter’s tape to keep everything clean. Set up each spot with a pumpkin, paint palette, paper towel, and cup.
Some people use drop cloths as tablecloths, which is both practical and kind of brilliant.
Pumpkin Selection (Size Matters)
Pick small to medium pumpkins so they’re easy for little hands to paint, and avoid ones with deep ridges since smooth surfaces are way easier to decorate.
White pumpkins are easier to paint over than orange ones, but orange pumpkins are cheaper. Your call.
Wash and dry your pumpkins before the party so paint actually sticks to them. This seems obvious, but you’d be surprised.
Real vs. Fake Pumpkins
Real pumpkins are super cheap (like under $3 for white ones at most grocery stores) and you can wipe mistakes off easily. But you’ll have to toss them when they start rotting.
Fake pumpkins cost more upfront but you can keep them forever and reuse them every year.
Food Ideas That Won’t Interrupt the Painting
Since people will be painting, go with light snacks that can easily be brought outside. Nobody wants to deal with a three-course meal when they’ve got paint on their hands.
Easy Party Menu
Popular options include pigs-in-a-blanket, pumpkin cookies, sugar cookies, grapes, cheese boards, and candy corn. Caramel apples, chili, and cornbread also make great fall party food.
The key is finger foods that don’t require utensils.
Drinks That Set the Mood
Warm apple cider is basically mandatory for a fall party, and hot ruby cranberry cider is always a crowd favorite. Provide coffee cups with lids so guests can write their names on them.
For a fun twist, remove labels from orange soda bottles and draw jack-o-lantern faces on them with a Sharpie.
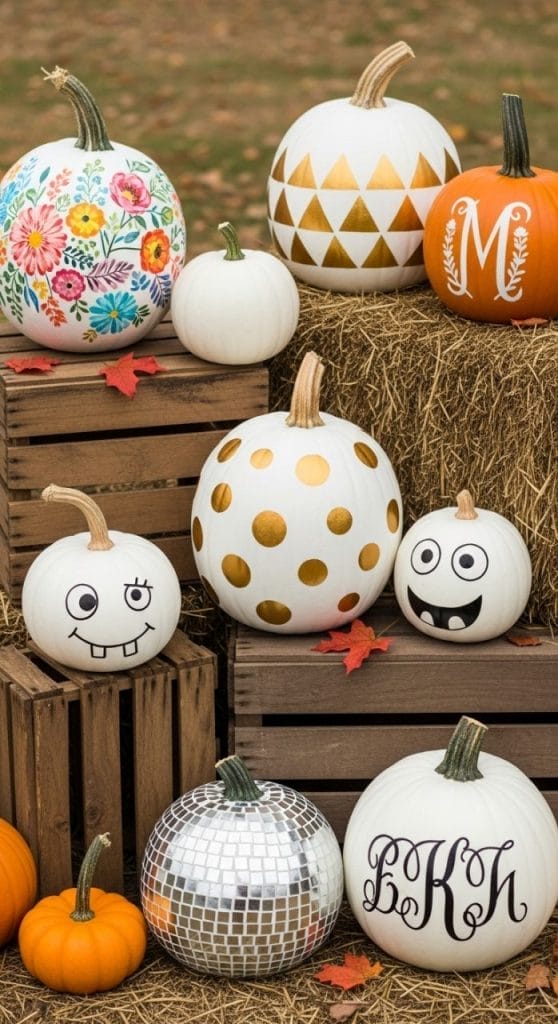
Design Ideas (From Stupid Easy to Actually Impressive)
For Beginners and Kids
Simple monster faces are perfect for anyone who can’t really paint. Just paint two upside-down tear shapes for eyes, add a kidney bean-shaped mouth, and use the back of a paintbrush to stamp tiny pink dots for cheeks.
Thumbprint pumpkins let toddlers get involved without creating total chaos.
Polka dots and stripes always look good and require zero artistic ability.
Intermediate Designs
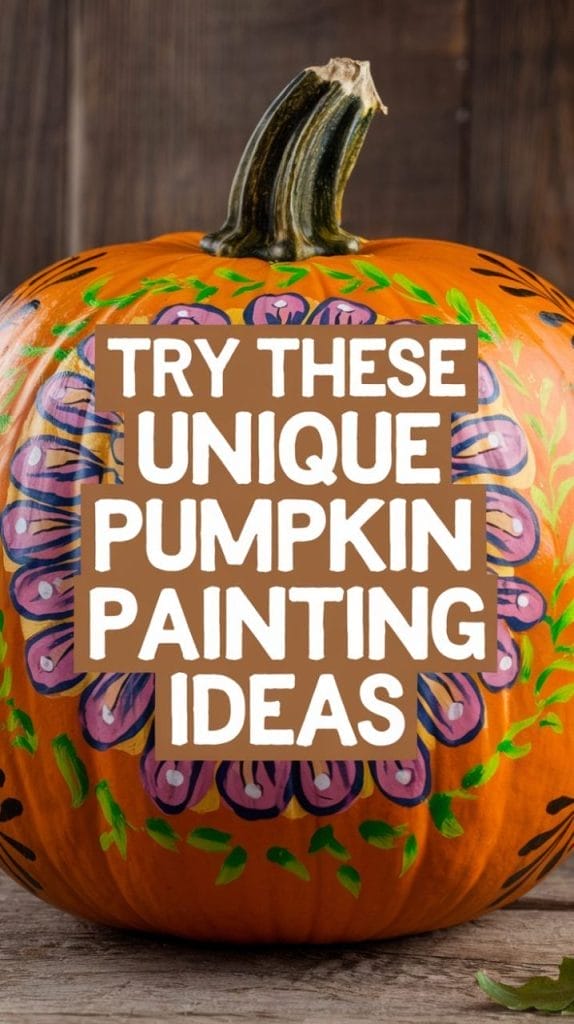
Floral patterns using stencils look sophisticated but are actually pretty easy. Just tape stencils to a white-painted pumpkin and gently dab on paint with a foam brush.
For a checkerboard pattern, stick with two classic colors like red and white, or mix in a handful of bright colors.
Advanced (But Still Doable)
Geometric patterns with gold paint look ridiculously stylish. Draw triangles adjacent to each other until you create a randomized pattern.
A disco ball pumpkin uses black paint, silver paint, and washi tape to create uniform squares. It’s perfect for getting the party started, literally.
For a spider web design, form a web pattern with long strips of painter’s tape, spray paint the whole thing, let it dry completely, then peel off the tape and glue on a plastic spider.
Wild Card Ideas
Melted crayon pumpkins are insane. Paint your pumpkin first, break crayons into small pieces, place them at the top, and use a hair dryer on low heat to melt them down the sides.
Pumpkins painted to look like ice cream cones or sprinkle donuts will make people smile.
A monogrammed pumpkin can display your family initials, house number, or spell out words like “BOO”.
Pro Tips From People Who’ve Done This Before
Painting Technique
Paint one section at a time using smooth brush strokes from top to bottom without lifting your brush. If your paint dries splotchy, just apply a second coat.
Let Layers Dry
Remind painters to let layers dry between coats, and if they don’t like how it looks, they can just paint over it. This isn’t permanent tattoo we’re talking about here.
Add Extras
Bring out stickers, googly eyes, and glitter for guests who want to take things up a notch. Hot glue and pom-poms also work great for 3D designs.
Music and Vibes
Create a Halloween or fall playlist and play it through a Bluetooth speaker during the party. It fills awkward silences and sets the mood.
Activities for While Paint Dries
Pumpkin bowling uses a small pumpkin as the ball with empty bottles or cans as pins.
A pumpkin relay race has teams passing small pumpkins without dropping them.
“Pin the Grin on the Pumpkin” is exactly what it sounds like and kids love it.
Party Favors (So Guests Actually Remember This)
Obviously everyone takes home their painted pumpkin. Consider adding small goodie bags with extra treats or a thank-you note.
Give out fun awards like “spookiest pumpkin” or “most colorful” so every kid feels special.
The Budget Breakdown
Some hosts provide pumpkins and charge a $10 supply fee to cover pumpkins and paint. This is honestly the easiest route because guests just show up empty-handed.
Or tell people to bring their own pumpkins if you want to keep costs down.
Hit dollar stores for decorations because it’s easy to blow your budget on party stuff. You can make a lot of decorations yourself with cardstock and printer paper.
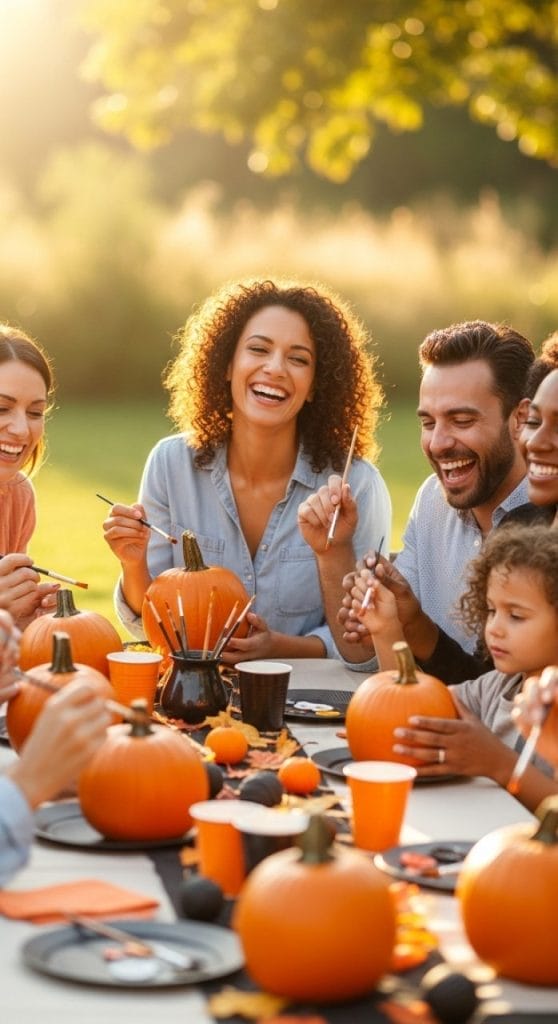
Why This Party Actually Works
Here’s the thing about pumpkin painting parties that nobody tells you: they work for literally everyone.
Your three-year-old can slap some paint on a pumpkin and call it a masterpiece. Your artsy friend can create something museum-worthy. Your cousin who “isn’t creative” can follow a simple stencil and end up with something they’re proud of.
Plus, painted pumpkins don’t decay like carved ones, so you can decorate even earlier for Halloween. That alone makes this worth it.
The Bottom Line
Stop overthinking this. Buy some pumpkins, grab paint and brushes, throw down some protective covering, make some snacks, and invite people over.
The mess is minimal, the cleanup is easy, and everyone leaves with something they actually made with their own hands.
And unlike that time you spent three hours carving an intricate design that looked like abstract mush by Halloween night, these painted pumpkins will still look good when the trick-or-treaters show up.
Trust me on this one.