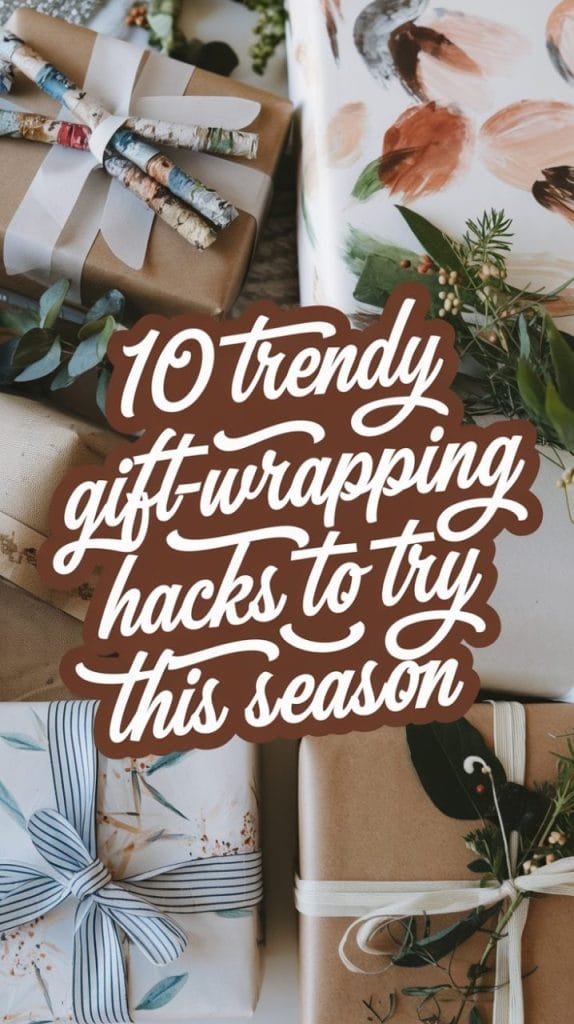
10 Genius Gift-Wrapping Hacks to Impress Everyone This Holiday Season
This post was created with help from AI tools and carefully reviewed by a human. For more on how we use AI on this site, check out our Editorial Policy.
Let’s face it—most of us are great at buying gifts but terrible at wrapping them. (Seriously, is there a support group for people who can’t fold straight corners?)
Luckily, I’ve found 10 wrapping hacks so clever, they might just turn your lumpy, tape-covered disasters into works of art.
Trust me, your gifts will steal the show this year!
10 Genius Gift-Wrapping Hacks
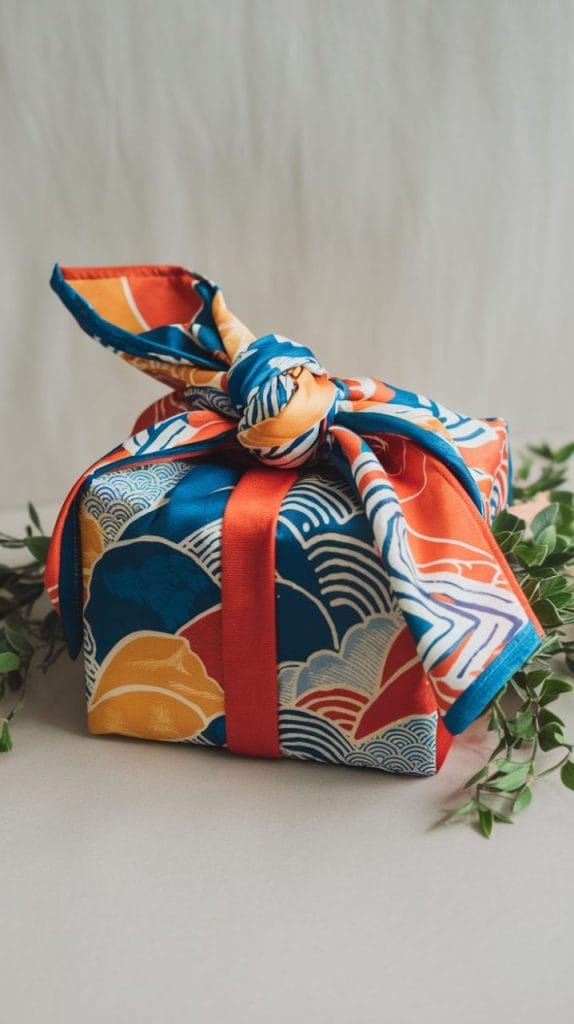
1. The Furoshiki Method
Inspired by traditional Japanese wrapping techniques, the Furoshiki method uses fabric instead of paper to wrap gifts. It’s eco-friendly and visually stunning.
How to Do It:
- Start by choosing a square piece of fabric. The fabric should be at least twice the size of the gift you’re wrapping. Common options include a scarf, bandana, or specialty wrapping fabric called Furoshiki.
- Lay the fabric flat on a clean surface, like a table, with the patterned side (if any) facing down.
- Place your gift in the center of the fabric, positioned diagonally so that the corners of the fabric extend outward.
- Take one corner of the fabric and fold it over the gift, tucking it underneath. Smooth out any wrinkles.
- Grab the opposite corner and fold it over the gift, overlapping the first fold.
- Take the two remaining corners and tie them into a knot directly on top of the gift. Adjust the knot to make it look neat and secure.
- Optional: You can tuck a flower or sprig of greenery into the knot for decoration.
Why It Works: This method is reusable, adds a personal touch, and is perfect for oddly-shaped items.
Materials Needed: Fabric of your choice.
Cost: Varies ($5-$20 depending on the fabric).
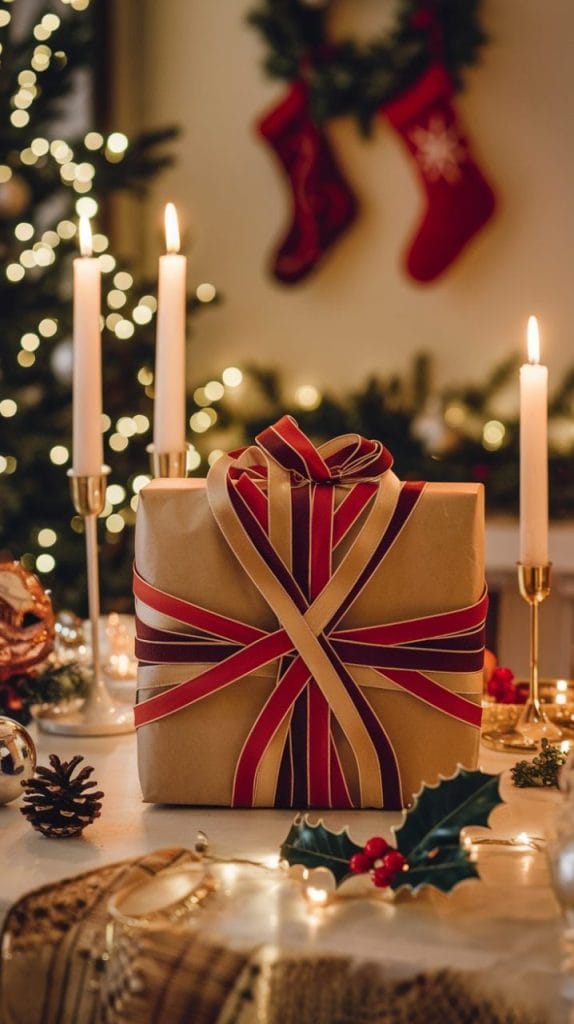
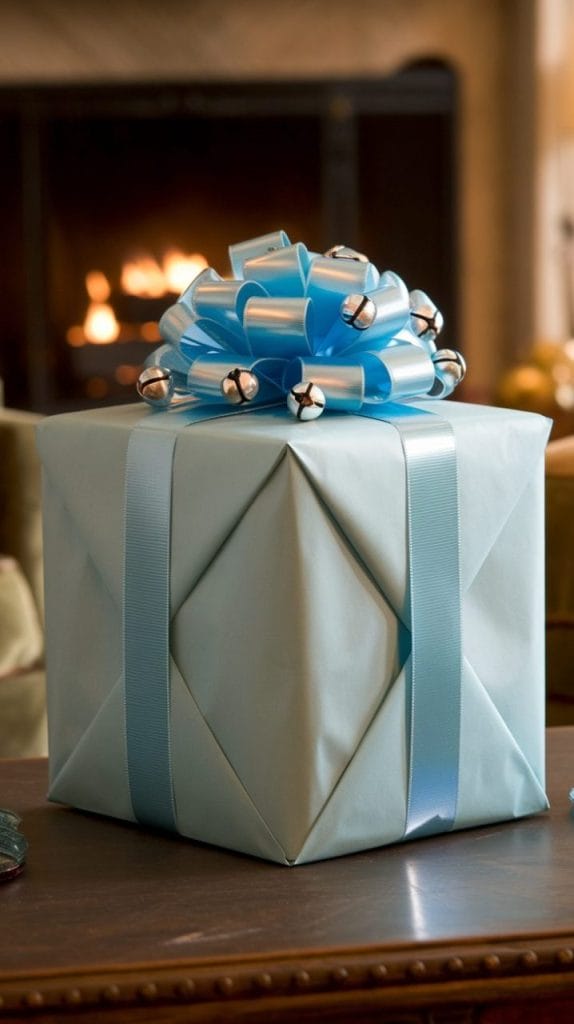
2. Ribbon Weaving Design
Turn a plain-wrapped gift into a masterpiece with woven ribbons.
How to Do It:
- Wrap your gift box in plain paper, preferably a solid color like white or kraft paper. This will make the ribbon weaving stand out.
- Cut several pieces of ribbon. You’ll need two sets: one for the vertical strips and one for the horizontal strips. Cut each ribbon slightly longer than the width or height of the box to allow for overlap.
- Tape the ends of one set of ribbons to the underside of the box, spacing them evenly across the surface. These will be the vertical ribbons.
- Take the second set of ribbons and begin weaving them through the first set. Start by placing a horizontal ribbon over one vertical ribbon and under the next, alternating as you go.
- Continue weaving until all the horizontal ribbons are in place, creating a checkerboard pattern.
- Tape the ends of the horizontal ribbons to the underside of the box. Adjust the ribbons so they’re evenly spaced and flat against the paper.
- Add a bow or tag for the finishing touch.
Why It Works: This hack adds texture and elegance without needing expensive materials.
Materials Needed: Wrapping paper, ribbons, tape, and scissors.
Cost: Approx. $10 for paper and ribbons.
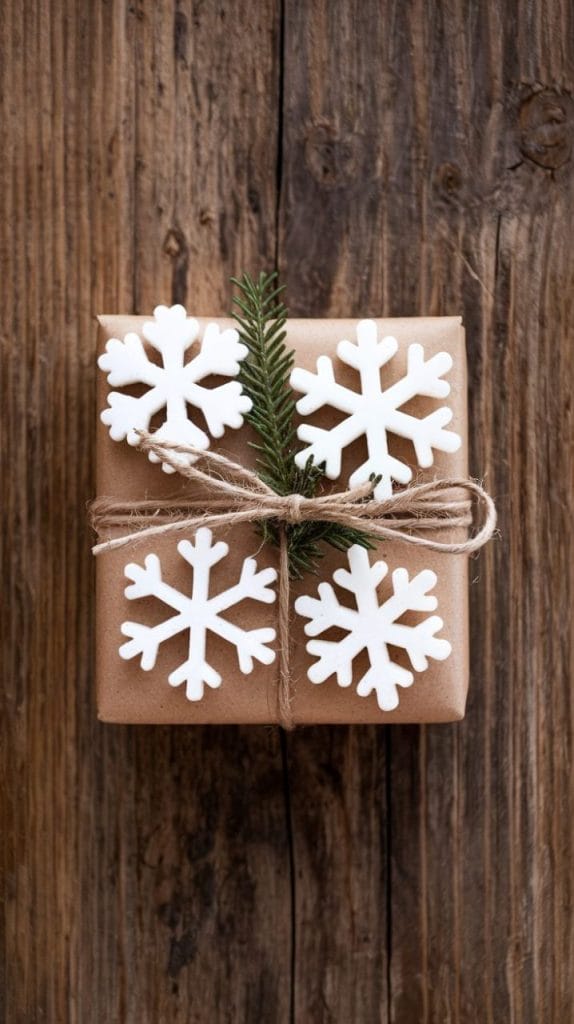
3. DIY Stamped Wrapping Paper
Create unique wrapping paper by stamping plain kraft paper with custom designs.
How to Do It:
- Use brown kraft paper or any plain wrapping paper as your base. Cut the paper to the size needed to wrap your gift.
- Create a stamp. You can carve a simple shape (like a star or heart) into a potato, a sponge, or even use a pre-made rubber stamp. For a potato stamp, slice a potato in half and use a knife to carve out your desired shape.
- Choose your paint color. Pour a small amount of acrylic paint onto a disposable plate.
- Dip the stamp into the paint, making sure the surface is evenly coated. Dab off excess paint on a piece of scrap paper to avoid smudges.
- Stamp your design onto the kraft paper, pressing firmly and lifting straight up to avoid smearing. Repeat across the paper in a pattern or randomly.
- Let the paper dry completely before using it to wrap your gift. Pair it with twine or a ribbon for a rustic look.
Why It Works: Adds a handmade charm while keeping costs low.
Materials Needed: Kraft paper, paint, carving material.
Cost: Approx. $5 for materials.
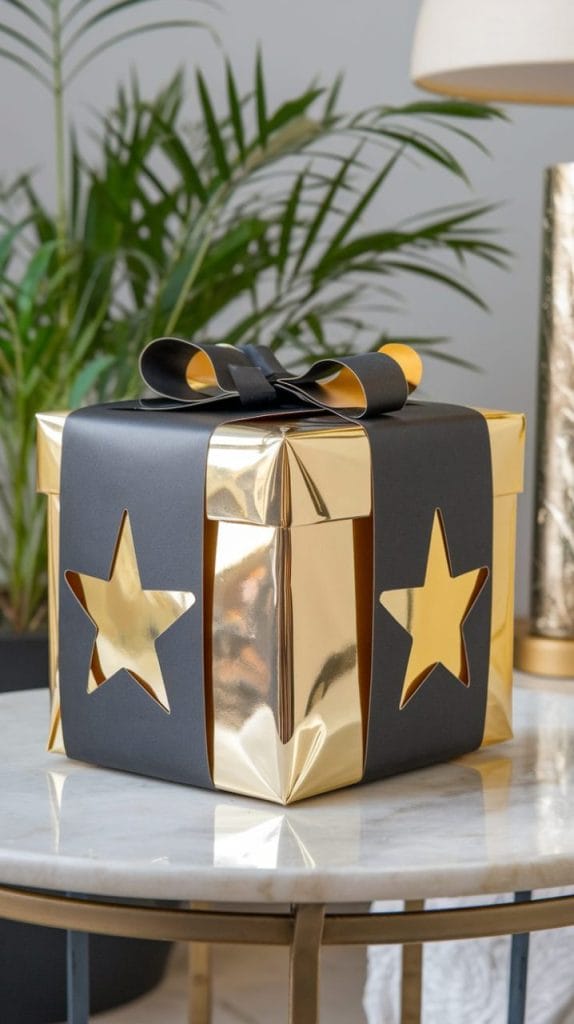
4. Double-Layered Wrapping Paper
Use two layers of paper to create a chic peek-a-boo effect.
How to Do It:
- Choose two wrapping papers: one solid color (for the base layer) and one patterned or contrasting color (for the top layer).
- Wrap the gift completely in the solid-colored wrapping paper first, ensuring clean, crisp folds. Use double-sided tape to secure it for a neat finish.
- Measure and cut the second wrapping paper so it covers the top and sides of the gift but leaves some of the base layer visible around the edges.
- On the top layer, use scissors to cut out shapes like stars, circles, or other designs. These cutouts will reveal the base layer underneath.
- Carefully place the top layer on the gift, aligning it evenly with the base layer, and secure it with double-sided tape.
- Finish the look with a ribbon or bow for extra flair.
Why It Works: Adds depth and a professional look with minimal effort.
Materials Needed: Two types of wrapping paper, scissors, tape.
Cost: Approx. $10 for both papers.
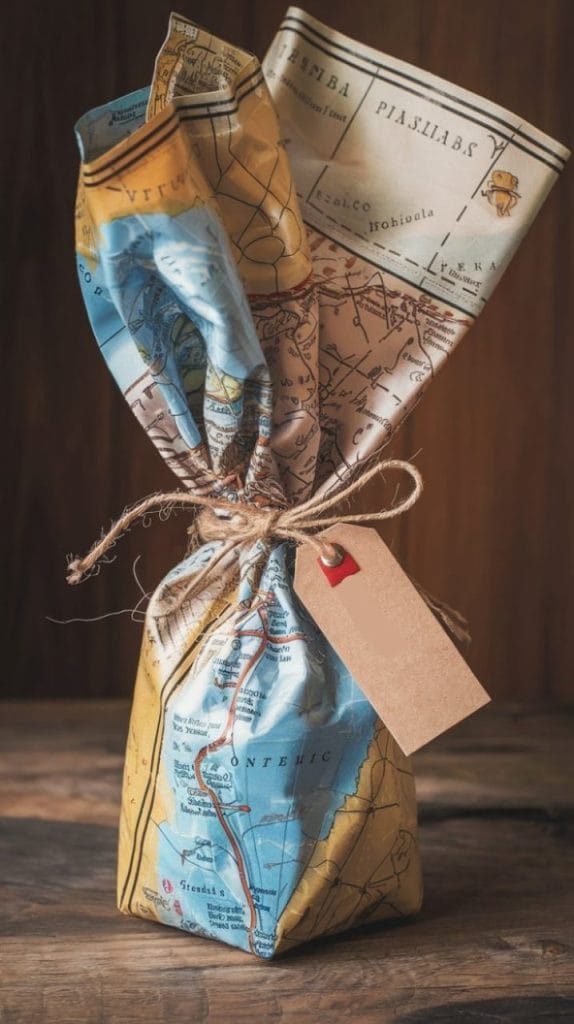
5. Recycled Map Wrapping
Old maps make for unique and conversation-starting wrapping paper.
How to Do It:
- Find an old map, such as a road atlas or a tourist map. You can even print one online if you don’t have one handy.
- Use the map as you would any other wrapping paper. Place your gift in the center of the map and cut enough paper to cover the box entirely.
- Wrap the gift by folding the map tightly around it, creasing the edges for a clean look. Use tape to secure it.
- For decoration, tie the gift with rustic twine or ribbon. You can also mark a specific location on the map with a sticker or highlight it with a marker.
- Add a gift tag for a personalized touch.
Why It Works: A great way to recycle and personalize for travel enthusiasts.
Materials Needed: Old maps, ribbon or twine.
Cost: Free if you already have maps; otherwise $2-$5.
6. No-Tape Folding Technique
Perfect for when you run out of tape!
How to Do It:
- Lay your gift on a piece of wrapping paper that is large enough to cover it completely. Cut the paper to size.
- Place the gift in the center of the paper, making sure it’s aligned straight.
- Fold one side of the paper over the gift, then fold the opposite side over, overlapping slightly. Crease the folds firmly.
- Instead of taping, tuck one fold inside the other to hold it in place.
- Fold the ends of the paper inward to create triangles. Then fold the triangles up and tuck them into the previous folds.
- Add a decorative ribbon or twine to secure the package further.
Why It Works: A tape-free option that’s surprisingly durable.
Materials Needed: Wrapping paper, ribbon.
Cost: Approx. $5 for paper and ribbon.
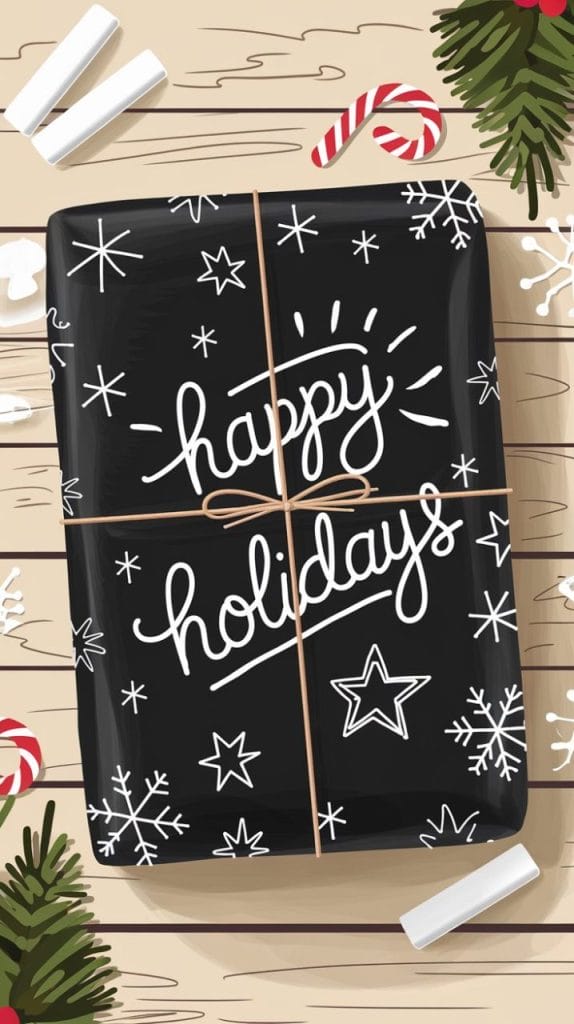
7. Chalkboard Wrapping Paper
Create a fun, customizable surface for drawings or messages.
How to Do It:
- Start with black craft paper or chalkboard wrapping paper. Cut it to the size needed to wrap your gift.
- Wrap the gift as usual, creasing the edges neatly and securing with tape.
- Use chalk or chalk markers to draw designs directly on the paper. Try writing the recipient’s name, drawing snowflakes, or adding doodles.
- Seal the chalk with a light spray of hairspray if you want the design to stay intact.
- Add a bow or tag to complete the look.
Why It Works: Perfect for kids and creative gifting occasions.
Materials Needed: Black paper, chalk or chalk markers.
Cost: Approx. $7 for materials.
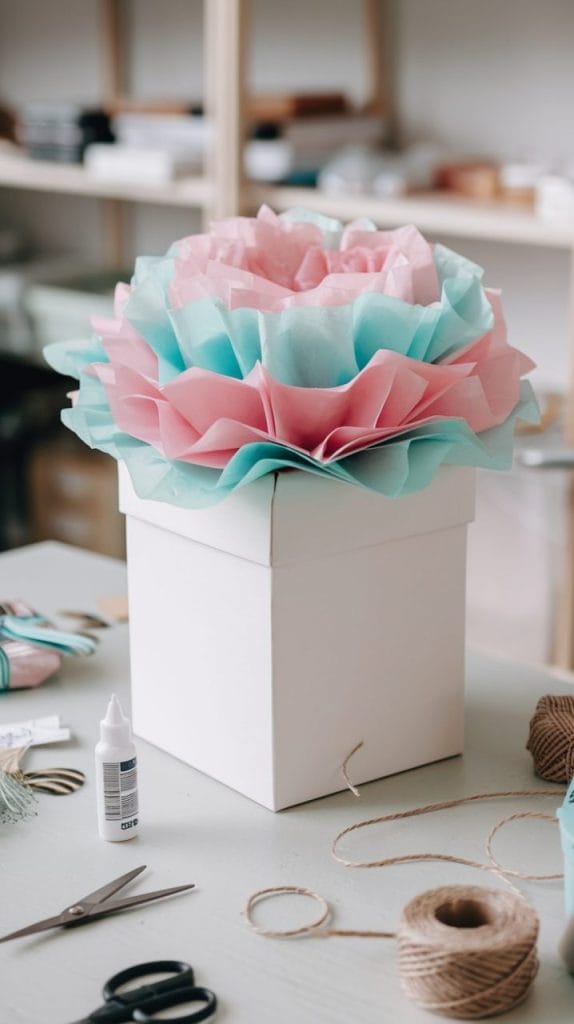
8. Layered Tissue Paper Flowers
Decorate gifts with handmade tissue paper flowers instead of store-bought bows.
How to Do It:
- Gather tissue paper in your chosen colors (you’ll need 5-7 sheets per flower). Use colors that complement your wrapping paper or fit the theme.
- Stack the tissue paper sheets neatly on top of each other. Ensure the edges are aligned.
- Fold the stack accordion-style, making folds about 1 inch wide. Crease each fold firmly to keep the layers even.
- Secure the folded stack in the middle with a piece of floral wire or sturdy twine. Twist the wire or tie the twine tightly to hold the folds in place.
- Trim the ends of the folded stack into rounded or pointed shapes for a more flower-like effect.
- Carefully fan out one side of the accordion folds. Gently separate each layer of tissue paper, pulling them upward and toward the center to create the flower shape. Repeat on the other side.
- Attach the finished flower to your wrapped gift using tape, glue, or by tying it on with ribbon or twine.
Why It Works: Adds a beautiful, unique touch while being budget-friendly.
Materials Needed: Tissue paper, twine.
Cost: Approx. $5.
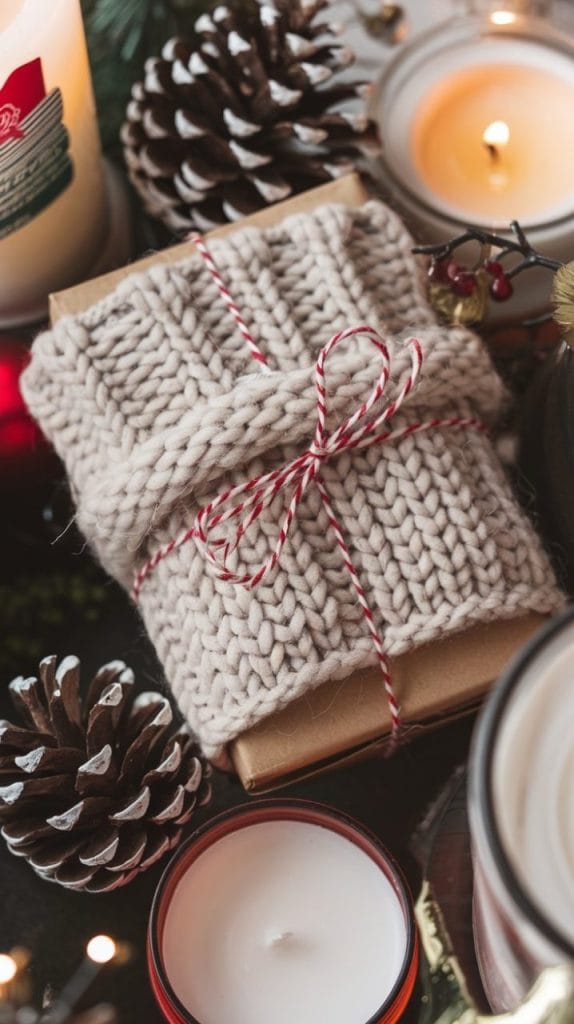
9. Upcycled Sweater Gift Wrap
Repurpose an old sweater to wrap gifts for a cozy, rustic look.
How to Do It:
- Find an old sweater that you no longer use, or purchase one inexpensively from a thrift store. Look for a knit pattern or color that fits the occasion (e.g., red for Christmas or beige for a rustic vibe).
- Cut a section of the sweater, such as a sleeve or a square from the body, large enough to wrap around your gift. Add a little extra fabric for tucking or folding.
- Place the gift in the center of the sweater fabric. Wrap the fabric around the gift as you would with regular wrapping paper.
- Secure the fabric with hot glue along the seams or use a sewing kit to stitch the edges together for a polished look. If you don’t want to glue or sew, you can tie the fabric ends in a knot for a casual effect.
- Add finishing touches like twine, ribbon, or a festive ornament for decoration.
Why It Works: Adds a warm, seasonal touch while reusing materials.
Materials Needed: Old sweater, scissors, glue or sewing kit.
Cost: Free if you use old materials.
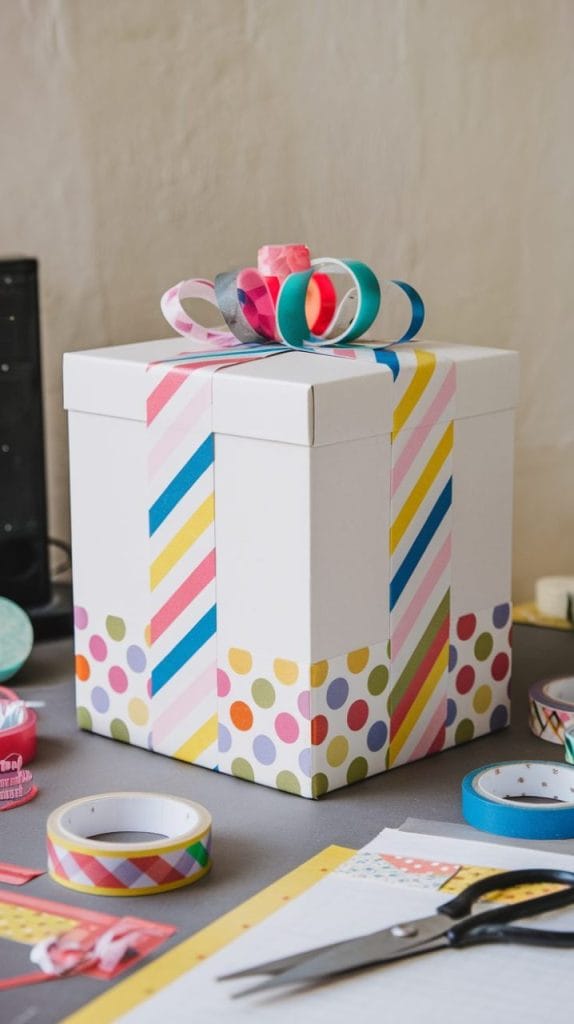
10. Washi Tape Wrapping Accents
Use decorative washi tape to replace ribbons or create designs directly on the gift.
How to Do It:
- Wrap your gift in plain wrapping paper. Neutral colors like white, black, or kraft paper work best because they make the washi tape stand out.
- Choose several rolls of washi tape in complementary colors and patterns. Washi tape is a decorative masking tape that’s available at craft stores.
- Create designs by sticking the tape directly onto the paper. For a simple look, place diagonal stripes across the package. For a more elaborate design, you can create shapes like stars, hearts, or even a plaid pattern by overlapping tape in different directions.
- Smooth each strip of tape as you go to ensure there are no wrinkles or bubbles.
- Finish the design with a tag or bow that matches the tape’s colors.
Why It Works: Quick, creative, and mess-free.
Materials Needed: Wrapping paper, washi tape.
Cost: Approx. $3-$10 depending on tape quality.